
My wife works from home these days. She has her own office setup in our spare room, and while she has a decent desk, the lack of real-life interaction with other people means that she often spends the entire day sitting at that desk. She had asked me to look into getting her a standing desk of some sort, but none of the options seemed very appealing — either way too expensive or pretty ugly. So, overestimating my budding woodworking skills, I volunteered to build her one.
In theory everything was as easy as pie. We found some plans for a design she liked online (here from BuildSomething.com) and I had most of the requisite tools already in my workshop (theoretically). But along the way I made three critical errors that resulted in an end product that I couldn’t even give away for free.
Here’s how I screwed up and how to avoid it in your next woodworking project.
1: Buy the right raw materials
I started my mistakes early.
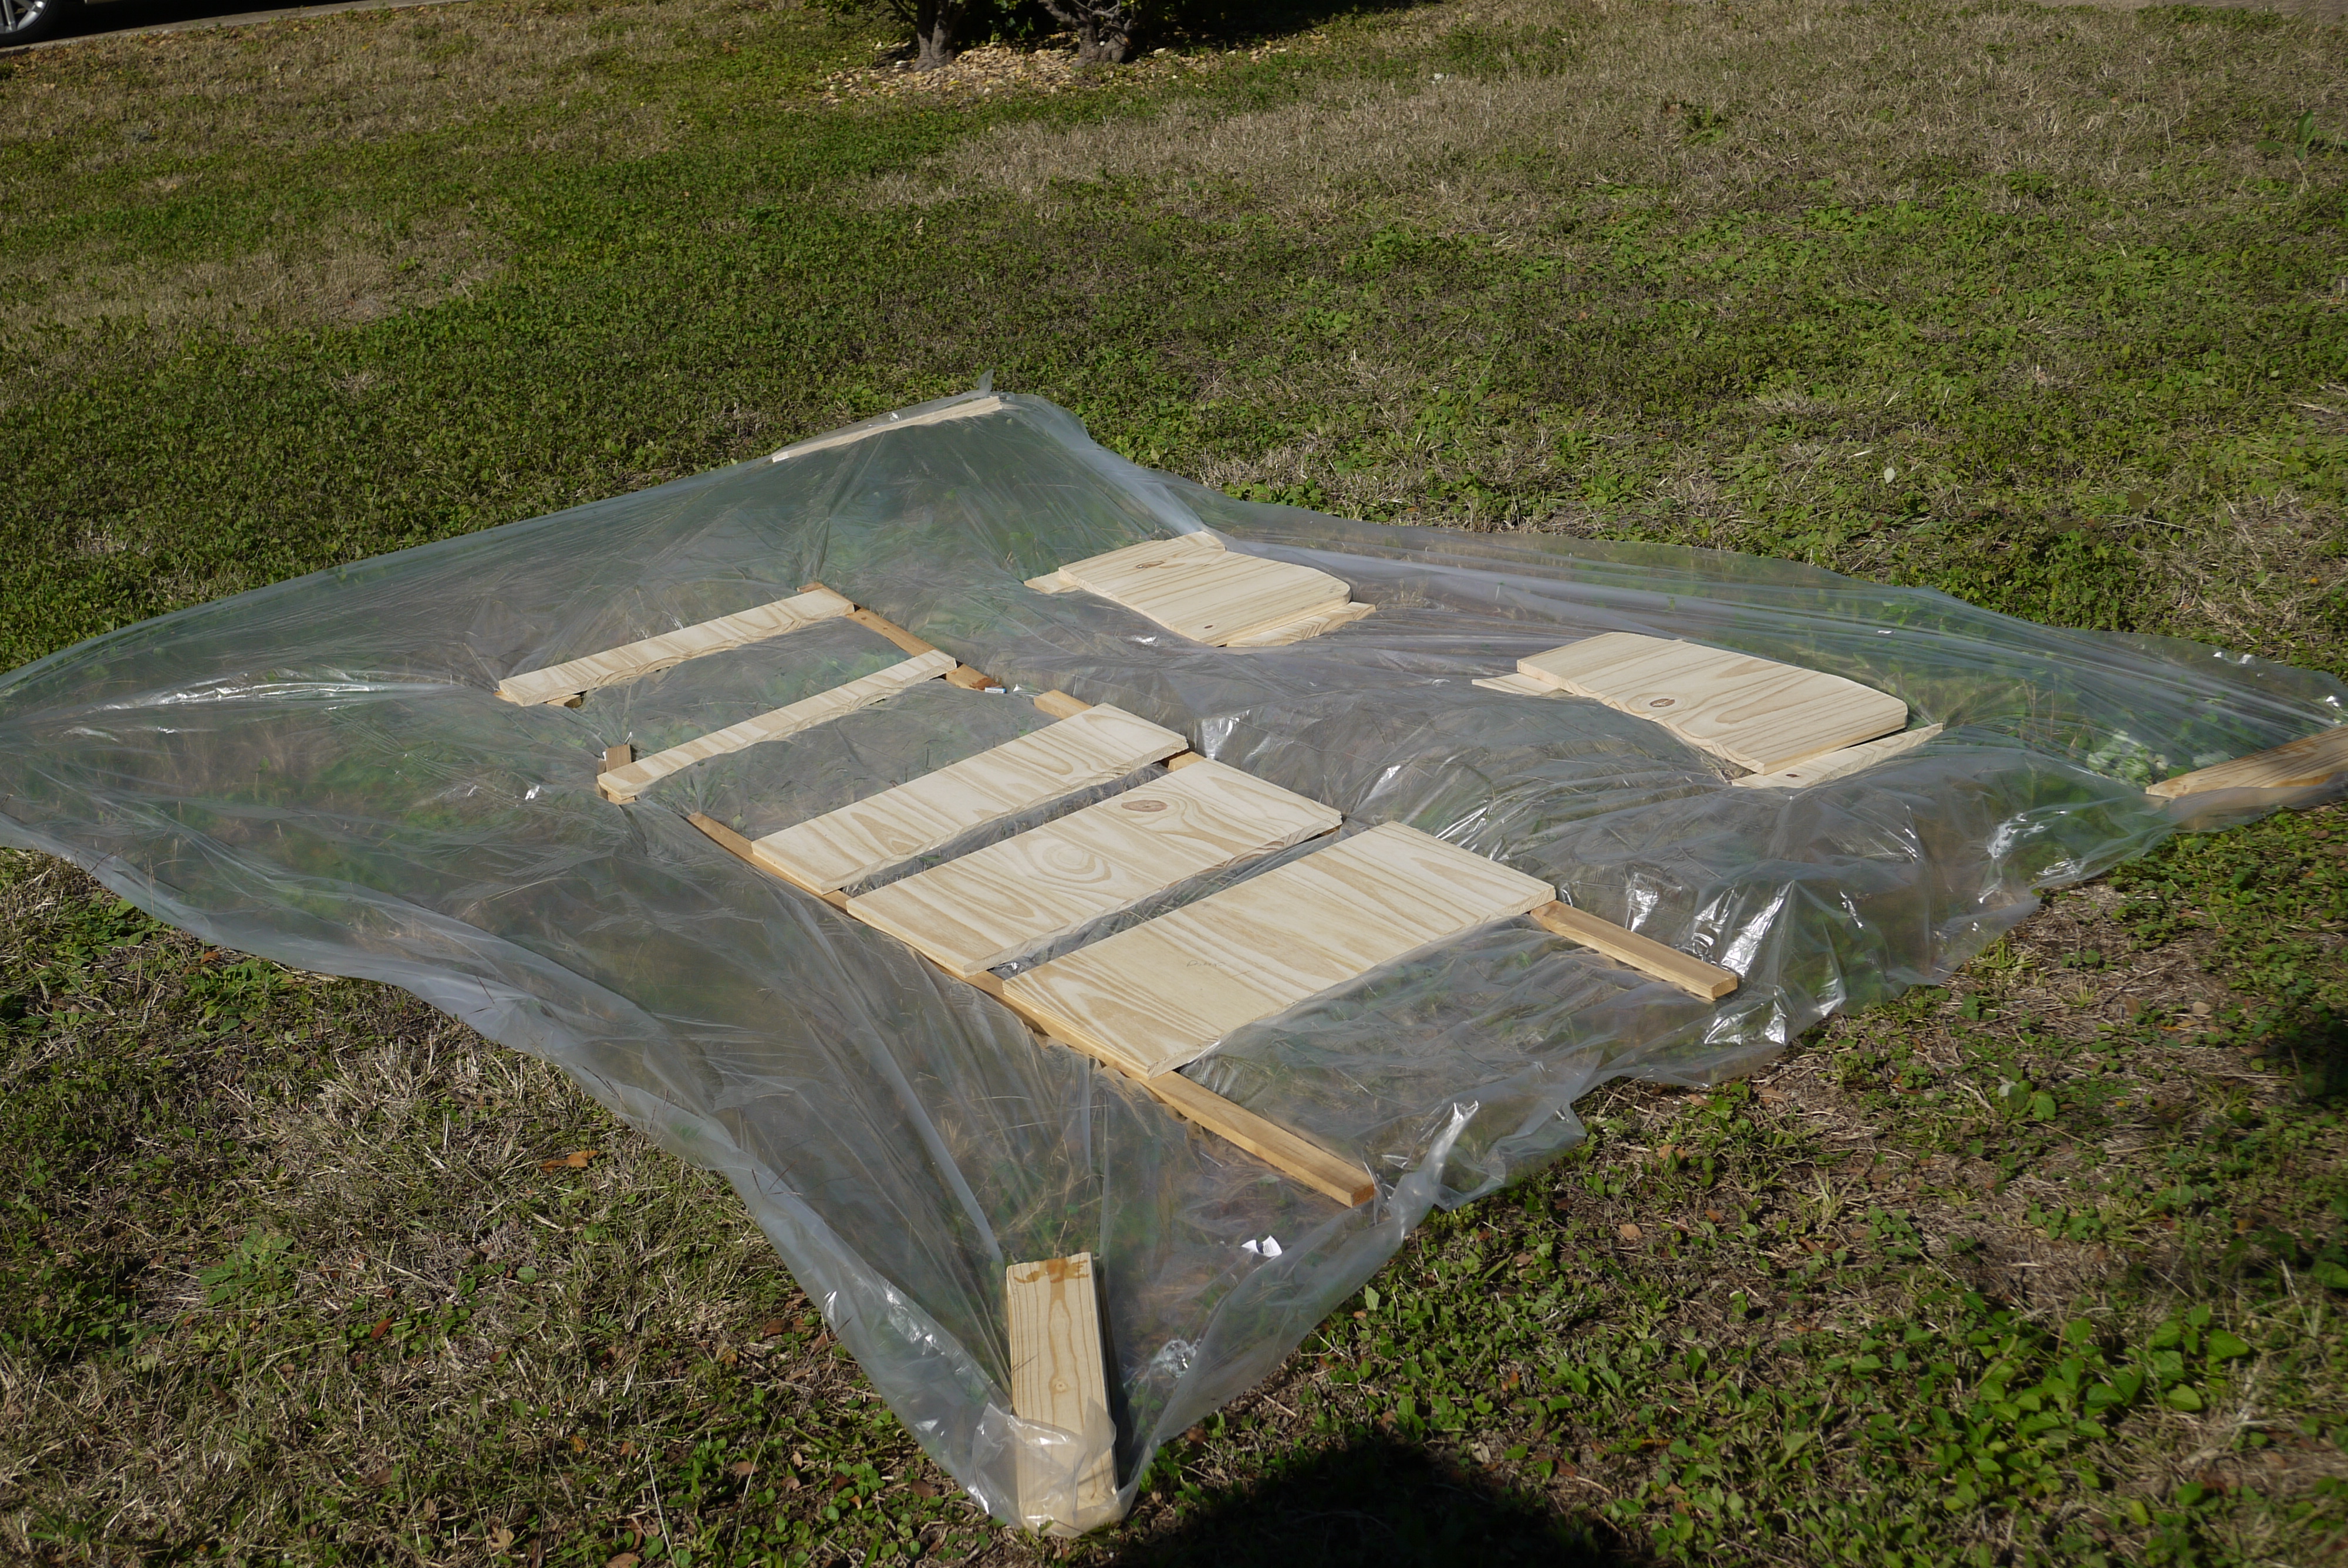
The original design called for some rough plywood that would form the structure of the desk and some strips of wood veneer that would finish and cover that rough plywood. Instead, I decided to go with some 2×4 foot “common boards.” My thought process was that this wood could be stained and sanded to be a much nicer looking finished product. Using the full thickness sheets of wood instead of laminated wood would also make the edges look a little neater.
My wife, on the other hand, had different ideas about the finish. Her preference was to have the entire thing painted white to match her existing office furniture and decor. That actually reduced the amount of effort I needed to put into the finish as it would be just a flat white paint, but it meant another trip back to the store to pick up some paint.
The wrong paint, as the case may be. But we’ll get to that.
2: Use a fence or guide with your circular saw
Having finished a couple woodworking projects already, I was pretty confident in my ability to cut a straight line. Overly confident, you might even say.
Back in my dad’s shop at home, he had a great radial saw mounted on an arm that would do wonderfully straight cuts each time at any angle you please. I, on the other hand, usually take Adam Savage’s advice: buy the cheapest set of tools you possibly can, and then replace them as they break with the best you can find. In theory this keeps costs down for things you don’t use often, but makes sure that your go-to tools are top of the line.
So there I was, Ryobi circular hand saw at the ready, wood on the table ready to start cutting. I used my square to mark out a ten inch line of where each cut was supposed to be made and called it good enough. “It’s a circular saw” I though to myself, “the straight metal saw will keep me going in a straight line once I started.”
Ha — Nope.
You’d think with years of precision shooting experience I’d know a little more about body mechanics, specifically about sympathetic muscle movement. In this case, that straight line started straight… and then curved to the left as I proceeded across. It wasn’t noticeable enough that I could tell I made a mistake right away, but as I started assembling the pieces, the mistake was as clear as day.
3. Spray paint isn’t faster
The last mistake was definitely more out of laziness than anything else. I figured that using spray paint would make the process faster and give me a nice even coat of paint. I was right about the even coating, but there just wasn’t enough volume to the spray paint to cover up the grain of the wood.
Realizing my mistake, I used some house paint I had lying around to do two more coats before putting the finished product together. That attempt at “speeding things up” ended up costing me more time, money, and back pain than it was worth. (And the result was a very rough texture that my wife scrunched her nose up at.)
I could tell during construction that something was off. The pieces didn’t fit perfectly, and there were huge gaps where pieces met along joints. The wood was also obviously bowed, and no matter how I tried to force it to straighten out it remained so until the end. But I soldiered through, convinced by this point that this would be a “starter” attempt.
Once I was done I stood back and admired the abomination that I had created. I called my wife in to inspect the finished product, and to her credit she didn’t immediately declare it a terrible piece of junk and instead offered some constructive criticisms. The desktop was too rough for every day use (see: scrunched nose I mentioned earlier). The joints were crooked and looked awful. And in general, it just felt wobbly.
She was right, in her defense. And then, as fate would have it, we happened to have dinner with her aunt and uncle – her uncle, who is a master at woodworking. We laughingly relayed the story and he immediately asked why I hadn’t used fences. Well, back to Home Depot I went.

The first change I made was in the materials. I actually listened to the instructions this time, grabbing two pieces of interior grade plywood. The finely sanded surface would provide the smooth feel to the desktop that she was after. It was also a perfectly flat piece of wood, no bowing to try and straighten out later.
I also made the suggested purchase of fences: a clamping straight edge guide or “fence” that I could ride with the circular saw. Instead of even needing to follow a penciled line I just clamped the guide in place and went to town. It took a couple extra minutes to set up each time but the results were definitely worth the investment in time and money.
Finally instead of spray paint, I invested in a paint roller. I did a single coat of paint along the sides that were “hidden” and two coats on the sides that people actually would see, the result being a perfect flat white surface.
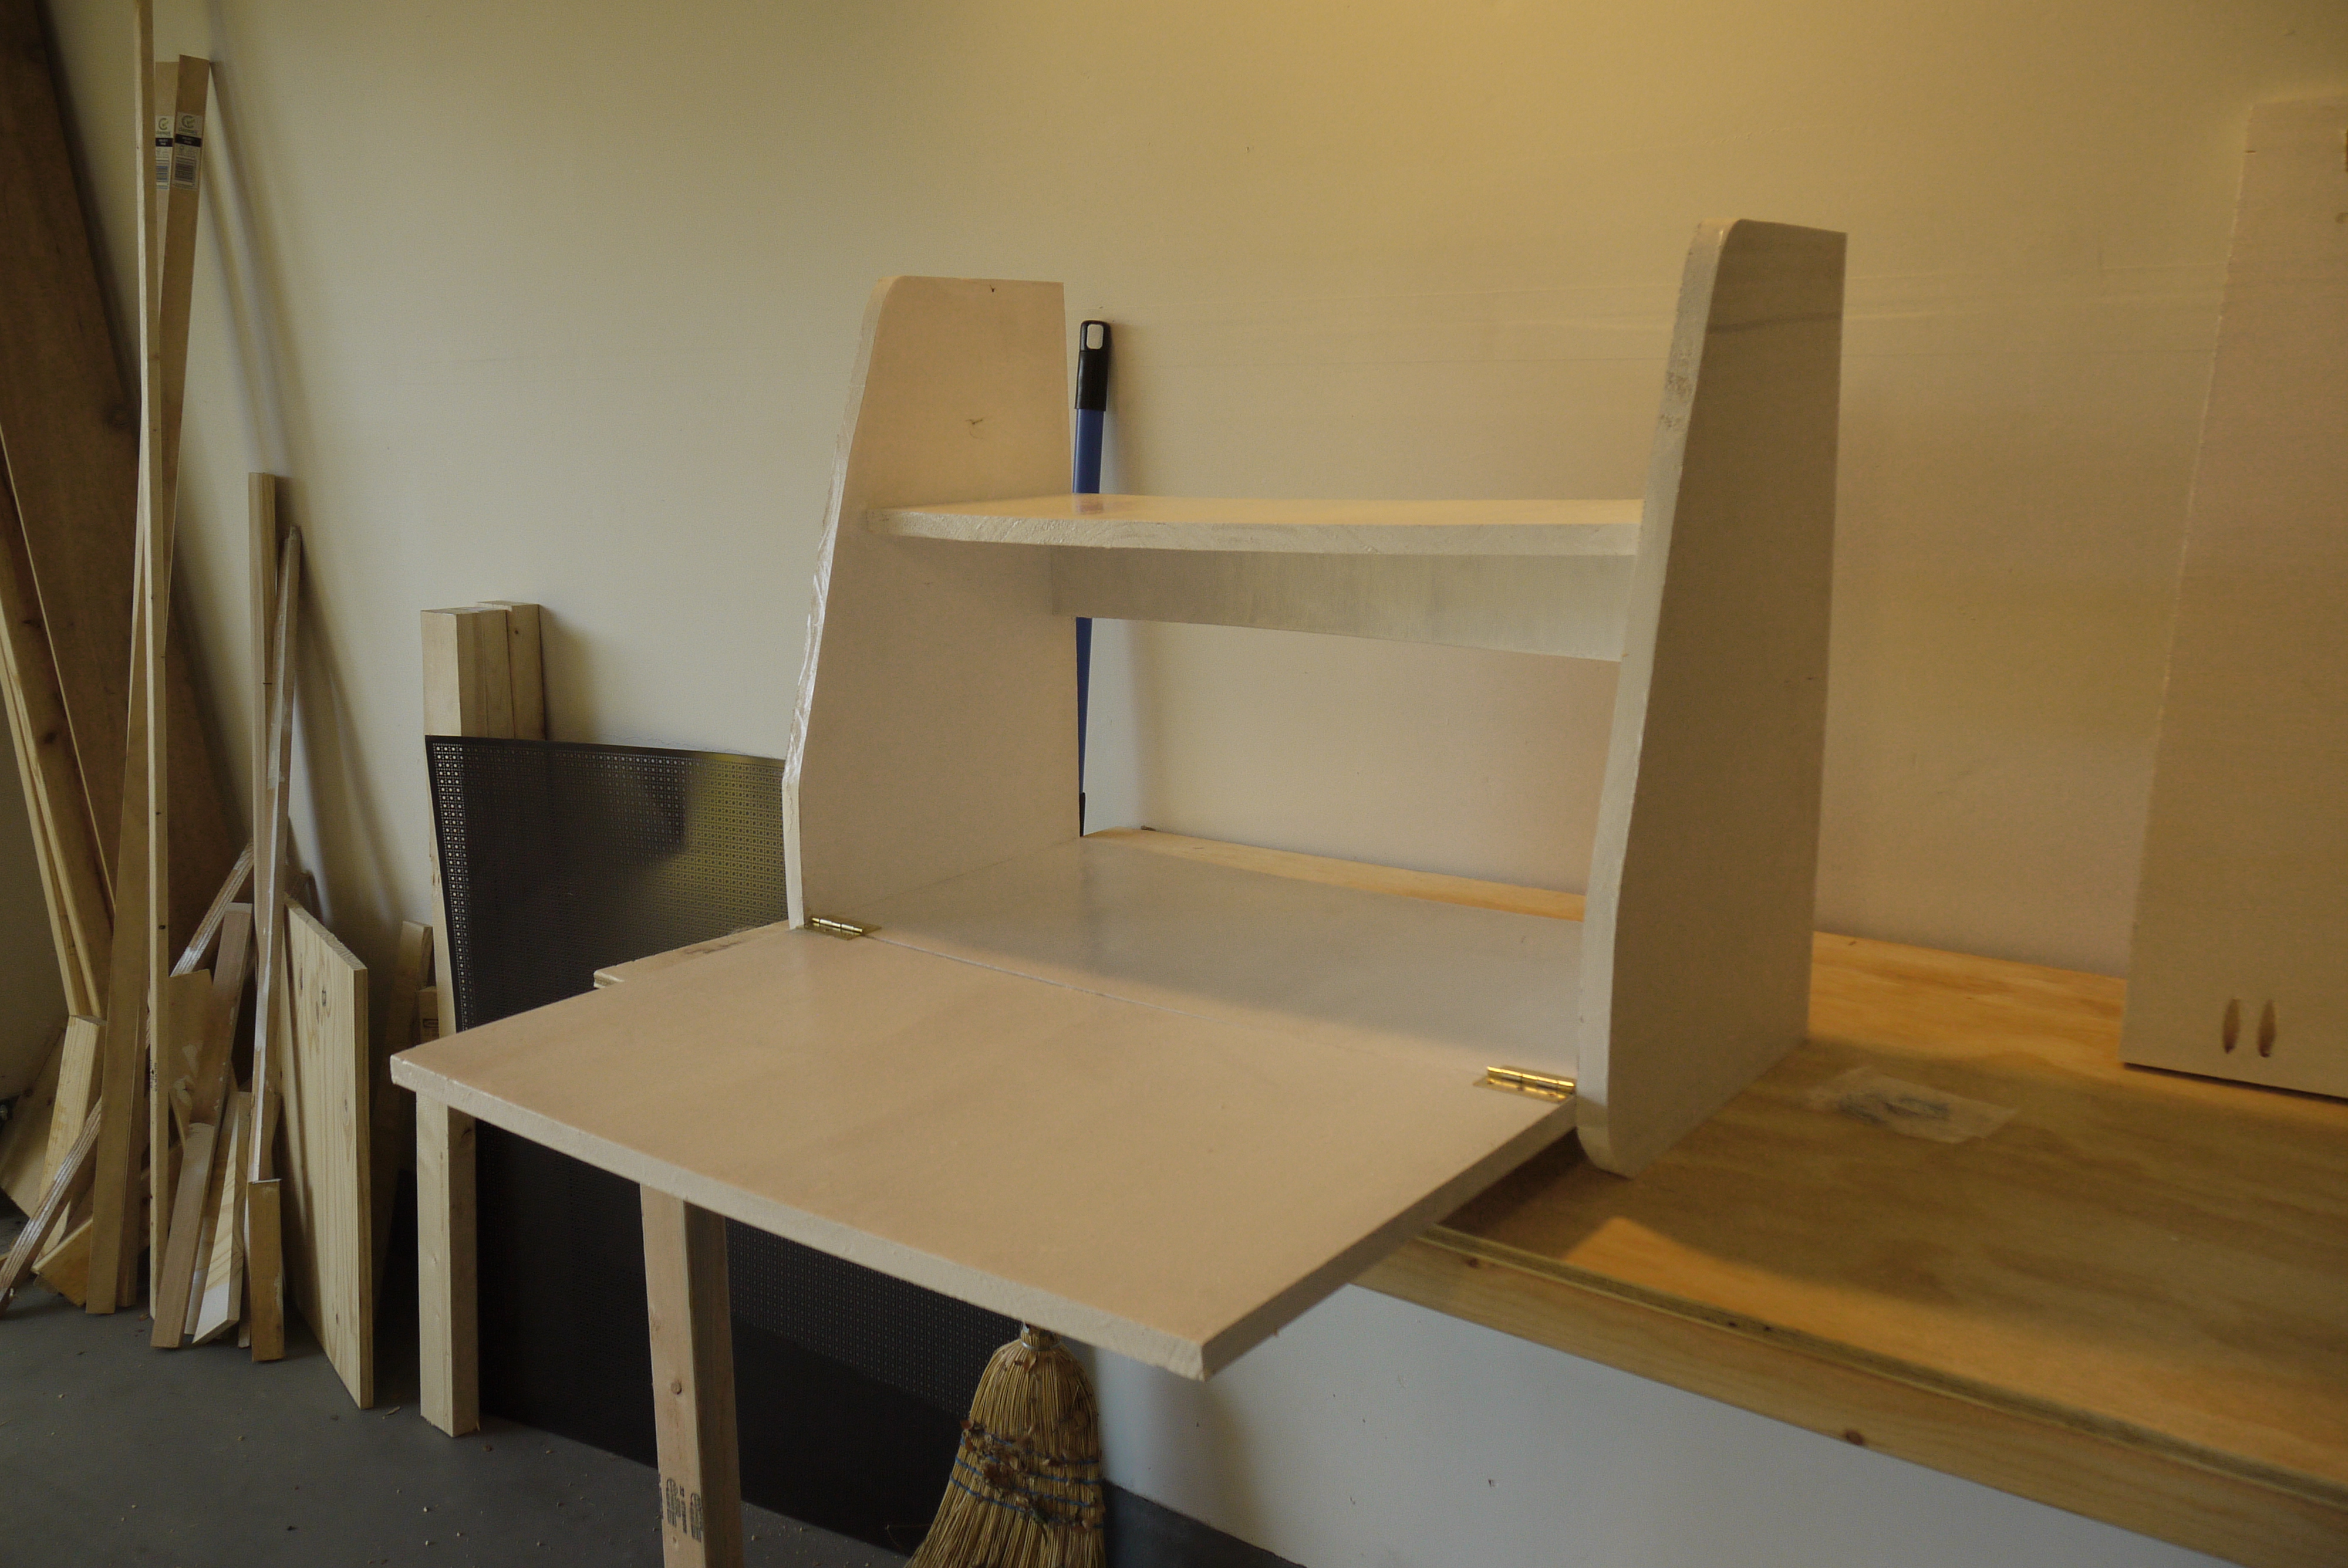
As the project came together I could tell that this time I had done things properly. I put the two versions on the workbench to check them out side by side and the differences were night and day. As if it weren’t obvious, the first attempt is on the right and the finished product is on the left.

Even from the front there’s a distinct difference in the look of the pieces. The combination of crooked cuts on the folding desktop with the rough surface of the under sanded wood makes it visually unappealing compared to the one on the left.

Looking at the joint where the desktop folds out is another clear difference. The obvious and uneven gap on the right side example is completely gone in the finished product. You can also tell how rough the original paint job (right) is from all the streaks visible in the picture.

As if that desktop wasn’t telling enough, looking head-on while the table is open is the death blow to the old version. On the right, you can clearly see the curved hanging cleat that’s on the back of the project, compared with the razor straight version on the left.
There is one change I made to the original design that I think is a good idea, and that’s in how the folding desktop is secured. In the original designs it calls for a metal hinge, but in practice fitting it with the sloping sides of the project is more difficult than I wanted to attempt. So instead I grabbed a couple small hooks from my box of spare parts to use as anchor points for a chain (a string for now until my wife finds a chain she likes) to add some extra support to the desktop. In theory it could stand on its own with just the hinge providing support, but I really don’t want to put it to the test.
It still isn’t perfect. There are things I would do differently on a third attempt, but the smile on my wife’s face when she saw the improved version was more than payment enough for a solid six hours spent trying to make this thing work. And the experience I gained in making these newbie mistakes was invaluable.